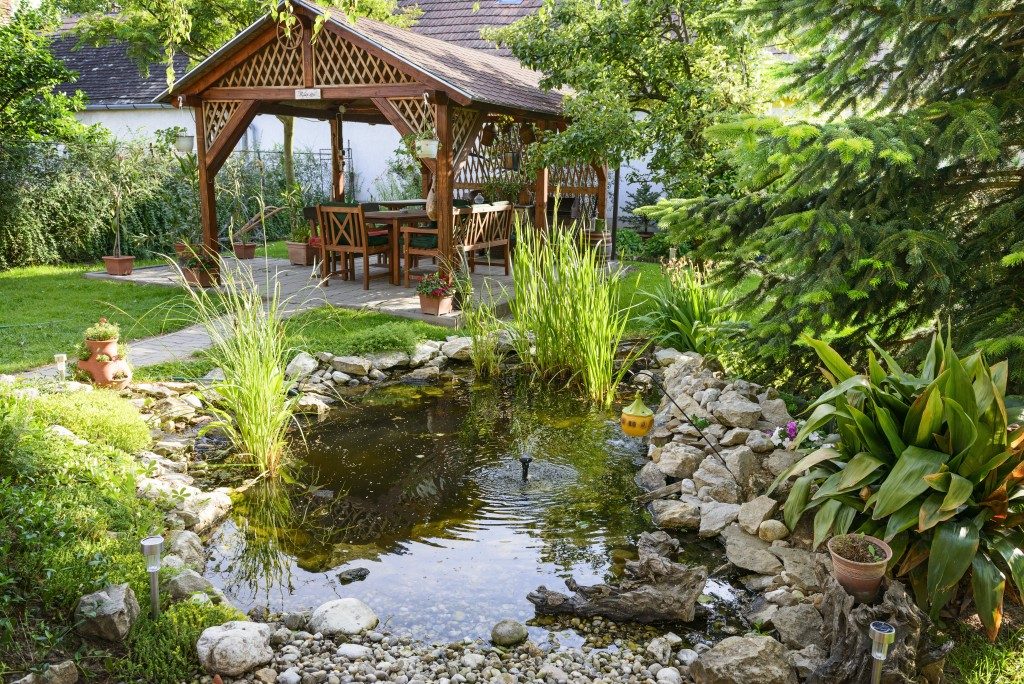
If you’re a homeowner, you want nothing more than to make the most of your property and make it pleasant and attractive to people. When it comes to landscape lighting, you don’t need to be an expert to pull off a great lighting job. All you need is a few handy tricks and you’re good to go.
9 Landscape Lighting Tips and Tricks for Beginners
1. Electrical experience is not needed.
Most outdoor lighting systems are low-voltage so DIY installers, even beginners, can install landscape and garden lighting safely and easily.
Tools? At the very least, a wire stripper is all you’ll need.
2. Make sure you’re done with all your planting before you install your underground wiring.
Only install your lighting system after your landscape is finished. This prevents the accidental cutting of wires for fixtures with underground wiring. You wouldn’t want to chop off part of your wiring with a shovel as you’re digging.
When working with underground wiring, be sure to bury them at least 6 inches below ground level.
3. Putting it together.
Knowing the parts of an outdoor lighting system gives you a better understanding of how each section works. A low-voltage system consists of three main parts:
- Transformer – This unit is plugged into a GFCI-protected outlet. It significantly reduces a current of 120 volts down to 12 volts.
- Low-voltage cable – The electric current passes through this cable from the transformer to the light fixtures.
- Light fixture – This unit is connected to the cable via wire connectors that are specially made for outdoor use.
4. Upgrade your bulbs without changing your fixtures.

Halogen lamps are outdated. Energy-saving LED lamps are now taking over. You may need to pay more money for LEDs but the long-term returns are much more practical.
Replace old halogen lamps with LEDs that have the same base so that they fit perfectly into your old halogen fixtures. Just make sure that the replacement LED bulbs have the same wattage.
5. Avoid overlapping pools of light.
When you’re working on your lighting layout, try to figure out how each lamp or bulb will be cast on a particular space, especially on patios and decks.
Professional lighting designers recommend spacing out each bulb and not installing them too close to each other. On patios and decks, lights with a four to five-foot pool should have about 10-feet of space between them.
6. Consider going solar.
If you’re into green architecture, then solar outdoor lighting will work for you. Just take note that solar lighting fixtures do not have the same intensity as lights that run on 12-volt systems.
If you’re willing to compromise a bit on the level of brightness for easier installation, zero wirings, and no additional charge on your electric bill, then solar is the way to go.
7. Do not point garden lighting directly at your patio.
Indirect lighting is a great touch in any garden. It highlights the different attractions of your landscape and eliminates the glare.
8. Do not do runway lighting.
Lighting designers highly recommend not lining up your deck and patio with parallel lights. Keep them staggered so your walkway does not look like an airport runway.
9. Get the right transformer.
With the proliferation of LED bulbs, smaller transformers are recommended since they consume less wattage compared to their halogen predecessors. If you’re considering upgrading to LEDs, a 45- to 300-watt transformer will do.
Make sure your transformer is suitable for the lighting design you have in mind. Do the math and go for a slightly bigger one than your computation just in case you decide to add on a few more fixtures in the future.
With all the tips we’ve given above, one of the most important things to remember when working with lighting is to not overdo it. Often, less is more when it comes to lighting. We hope you find these tips helpful!