If you’ve ever visited a spa or high-end gym, chances are you’ve enjoyed the soothing heat of a steam room. The moist, warm air helps relax muscles, ease stress, clear your skin, and improve breathing. But what if you could enjoy all of those benefits right at home?
Good news—you can! With the right tools, materials, and some planning, any homeowner can learn how to build a steam room. Whether you’re turning an unused bathroom into a personal spa or converting part of your basement, this guide will walk you through every step of the process.
Why Build a Steam Room at Home?

There are plenty of reasons homeowners choose to build their own steam rooms:
- Wellness benefits like improved circulation, clearer skin, and muscle recovery
- Increased property value through high-end bathroom upgrades
- Convenience of spa-level relaxation right at home
- Privacy and customization compared to shared public steam rooms
- Long-term cost savings by avoiding gym or spa memberships
Whether you live in a house or a large apartment, a steam room is a smart upgrade that transforms everyday living.
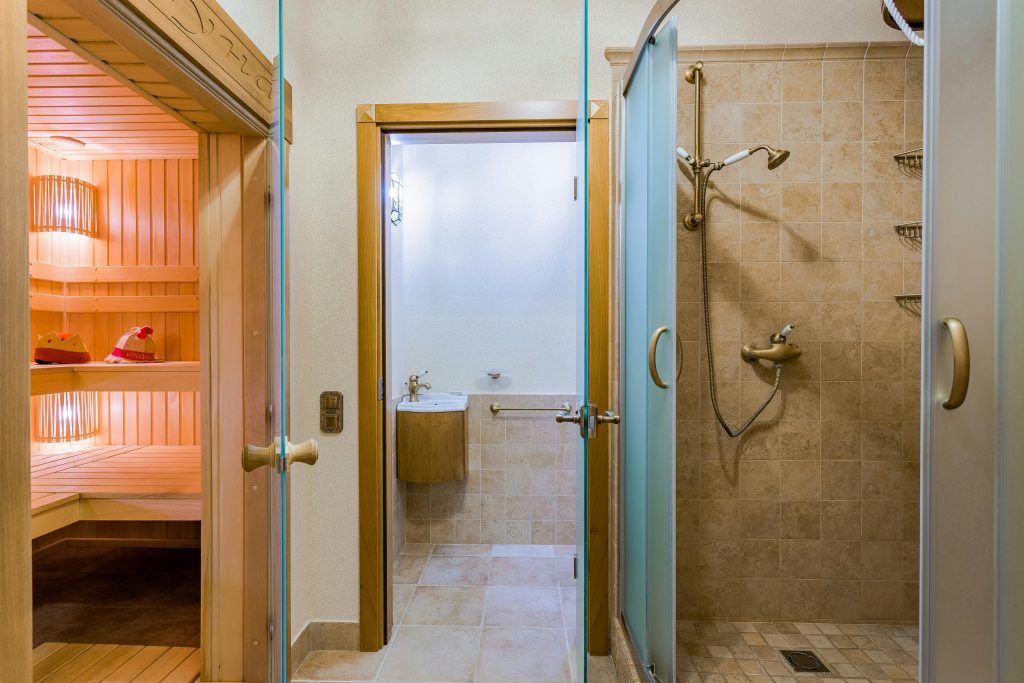
Steam Room vs. Sauna: What’s the Difference?
Before you start building, it’s important to understand the difference between a steam room and a sauna. Both provide heat therapy, but they work in different ways and offer different experiences.
Steam Room
- Uses moist heat with 100% humidity
- Typical temperature: 110°F to 120°F
- Built with waterproof materials like tile or acrylic
- Heated by a steam generator
- Helps with breathing, skin health, and relaxation
- Feels damp and warm
Sauna
- Uses dry heat (with low humidity)
- Typical temperature: 150°F to 195°F
- Built with wood, usually cedar or hemlock
- Heated by an electric or wood-burning stove
- Encourages sweating, muscle relief, and detox
- Feels hot and dry (steam can be added over rocks for mild humidity)
If you’re interested in full home spa features, it’s worth learning how to build a sauna as well as a steam room. Many homeowners include both for variety, depending on space and personal preference.
Where to Build Your Steam Room
Choosing the right location is critical. Steam rooms must be airtight and moisture-proof, so the space needs to be properly sealed and durable.
Popular locations for home steam rooms:
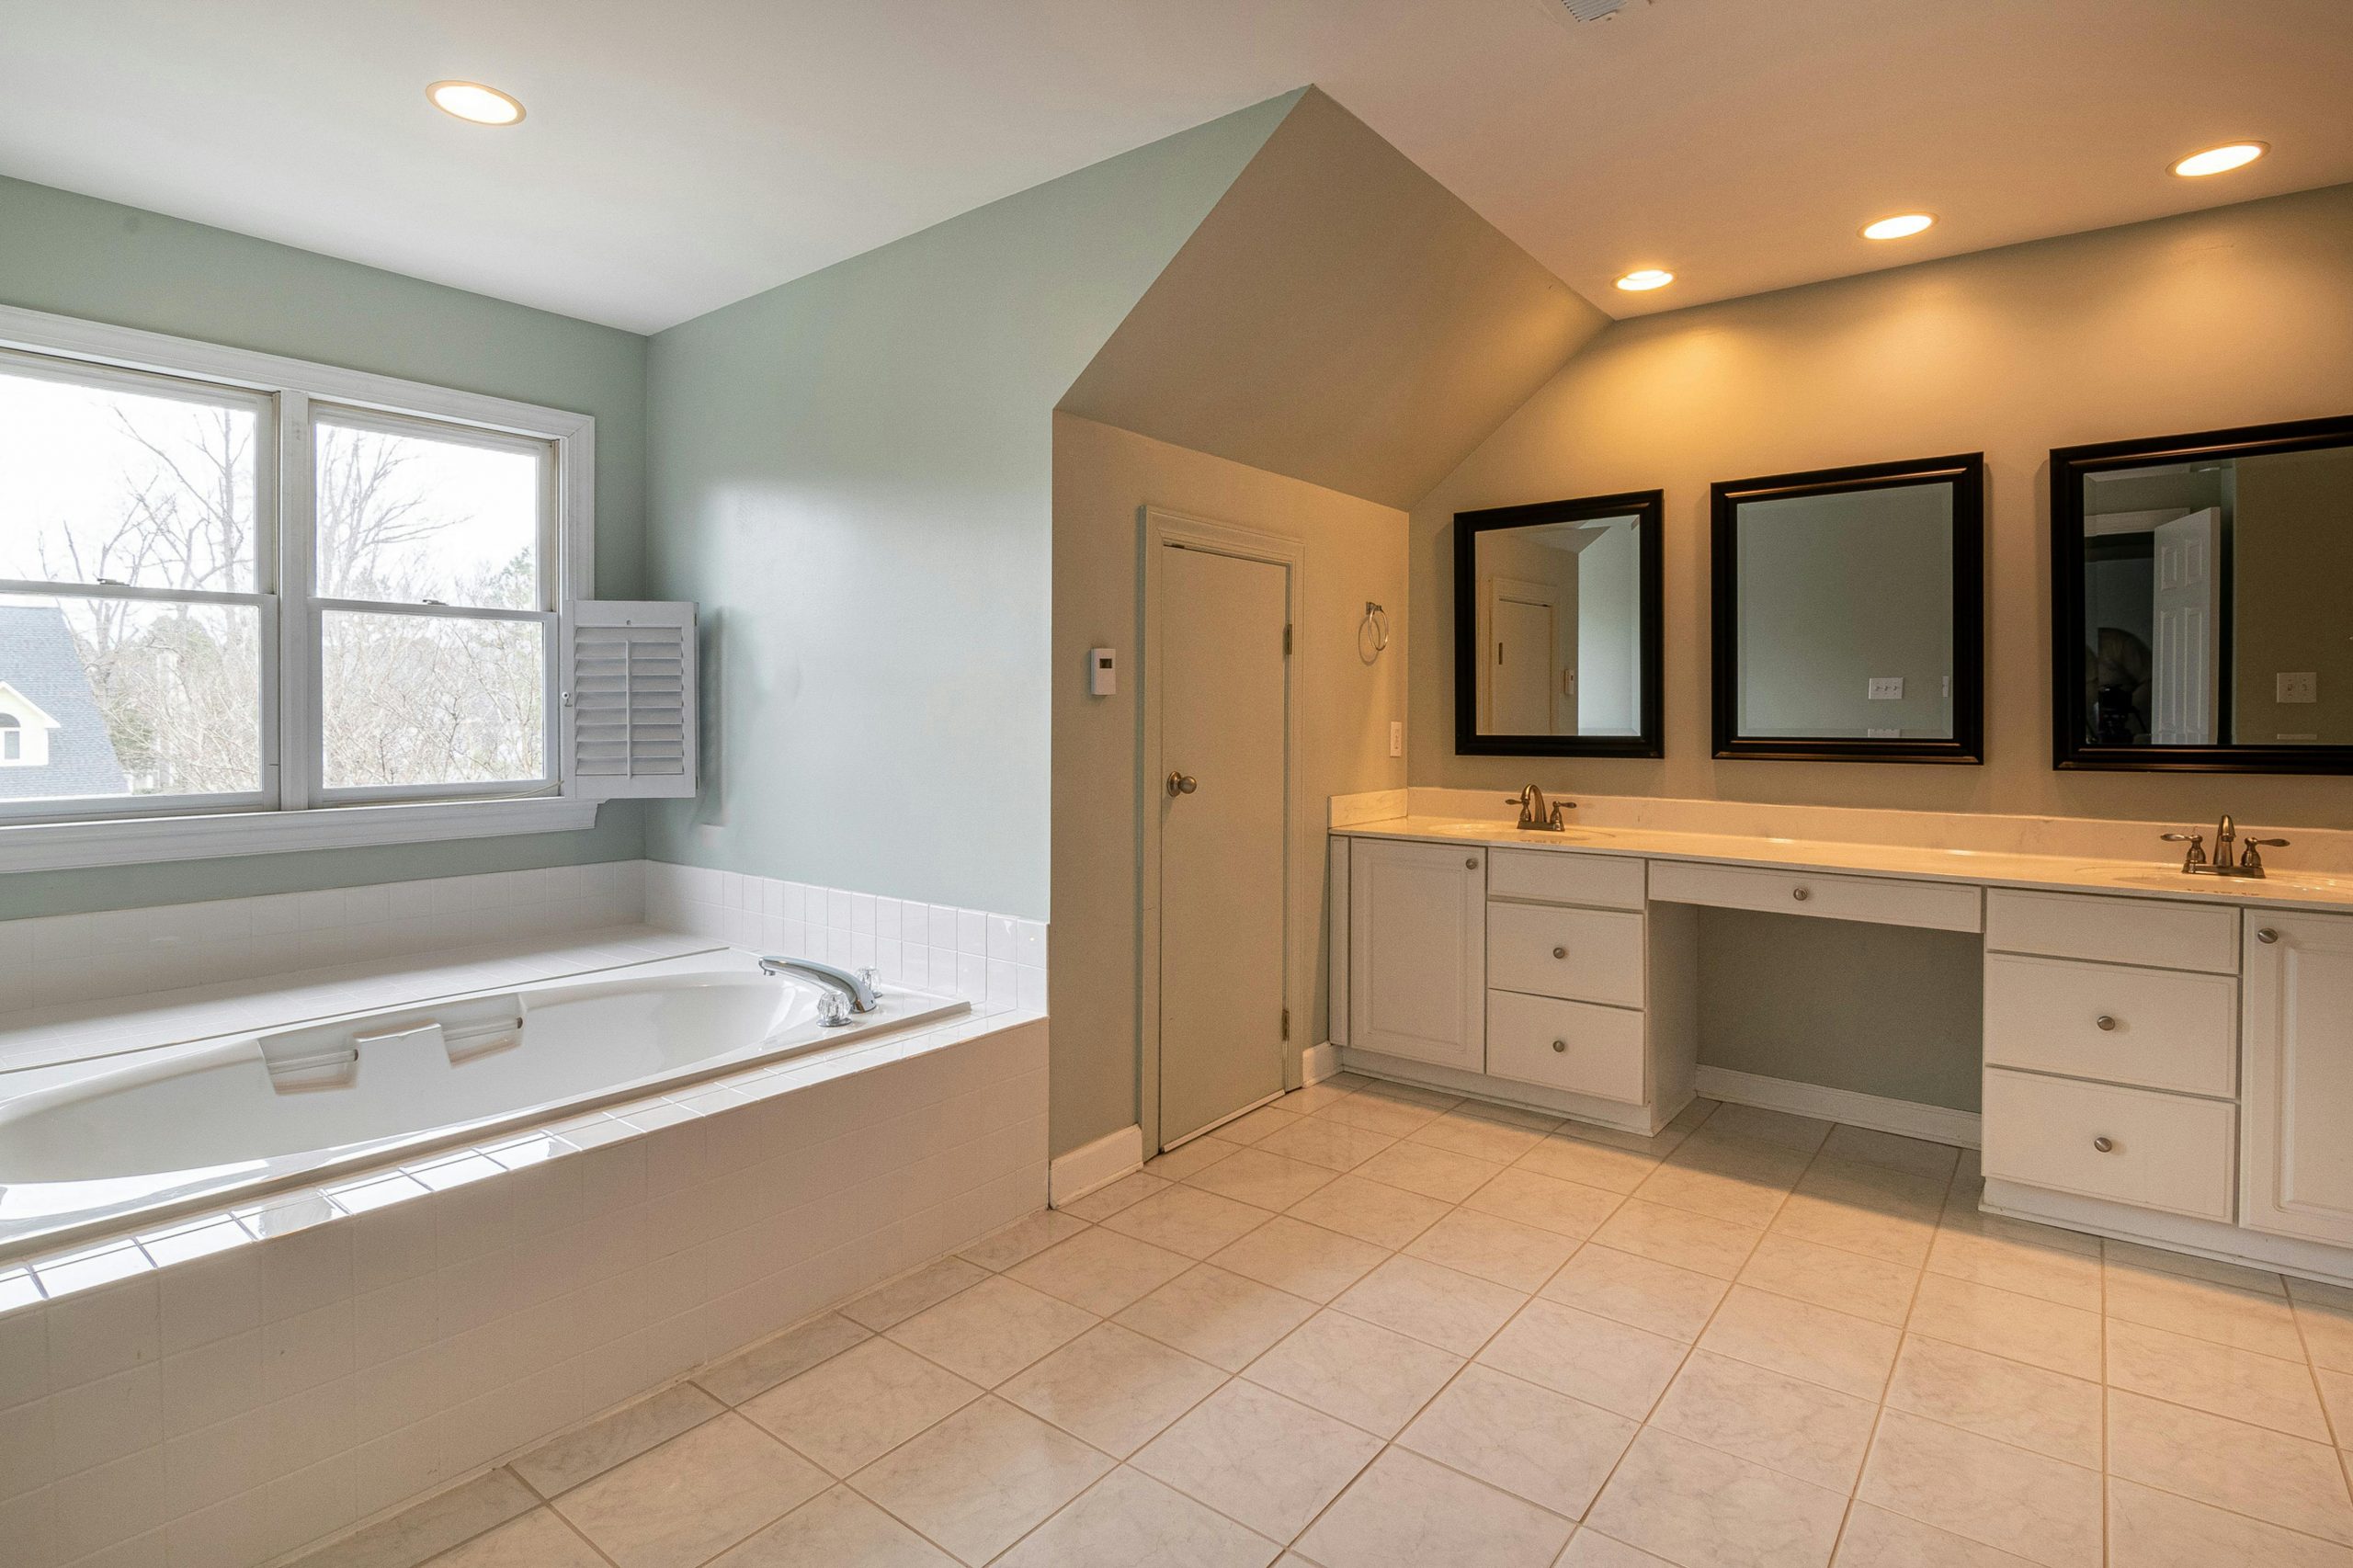
- Spare bathrooms or master bath upgrades
- Converted walk-in showers
- Basement rooms with nearby plumbing
- Home gyms or spa areas
- Custom outdoor enclosures (with weather protection)
Key things to consider:
- Access to water and electricity
- Proper drainage
- Ceiling height (7–8 feet is ideal)
- Wall and floor materials that can handle high moisture
- Adequate space for seating
What You’ll Need to Build a Steam Room
Before you start construction, gather the tools and materials you’ll need. Building a steam room involves basic framing, tiling, and plumbing skills.
Tools:
- Measuring tape
- Circular saw
- Power drill
- Level
- Tile cutter
- Grout float
- Silicone sealant gun
Materials:
- Moisture-resistant backer board (like cement board)
- Waterproof membrane or vapor barrier
- Porcelain or ceramic tiles for walls and floors
- Steam generator
- Steam head (delivers steam into the room)
- Insulated steam-rated door
- Sloped ceiling materials (to prevent dripping)
- Tile grout and silicone caulk
- Seating (tile-covered bench or waterproof prefab bench)
- GFCI electrical outlet for generator connection
- Optional: lighting, sound system, essential oil injector
Step-by-Step: How to Build a Steam Room
Step 1: Plan Your Steam Room Layout
Start by deciding the size, shape, and location of your steam room. Most residential steam rooms are between 3×3 feet to 6×6 feet, depending on how many people you want it to fit.
Sketch your floor plan and note:
- Door placement
- Bench or seating area
- Steam head location (low on the wall)
- Ceiling height (preferably under 8 feet)
- Generator location (within 25 feet of the room)
A good rule of thumb: allow 2 feet of bench space per person.
Step 2: Frame the Room
If you’re converting an existing room or shower, reinforce the walls and ceiling framing if needed. Use standard 2×4 studs.
Important:
The ceiling should be slightly sloped (about 2 inches per foot) to allow condensation to roll down the walls rather than drip on people.
Step 3: Add Vapor Barrier and Backer Board
Moisture control is the most important part of steam room construction.
- Line the entire space—including ceiling and bench—with cement board or a moisture-resistant wall board.
- Apply a waterproof membrane or vapor barrier, such as RedGard, Schluter Kerdi, or foil-backed materials, over all surfaces.
- Seal corners and seams with waterproof tape and caulk.
This step prevents moisture from damaging your home’s framing and insulation.
Step 4: Tile the Room
Use porcelain or ceramic tiles because they are water-resistant, long-lasting, and easy to clean.
- Tile the floor with a slight slope toward the drain.
- Use non-slip floor tiles for safety.
- Tile the walls and ceiling with moisture-safe adhesive.
- Grout carefully and seal everything with waterproof silicone caulk.
Let all tile adhesive and grout cure according to the manufacturer’s instructions before moving on.
Step 5: Install the Steam Generator
The steam generator is the heart of the system. Choose one that matches the size of your room (refer to the product manual for square footage capacity).
- Place the generator in a nearby dry location, such as under a bench, in a closet, or utility room.
- Connect the generator to a dedicated GFCI-protected circuit.
- Install the steam head on the wall, 6–12 inches above the floor, away from seating.
- Route water and electrical connections as instructed by the manufacturer.
- Add a drain pan under the generator if required by code.
You may want to hire a licensed electrician and plumber for this step to meet safety codes.
Step 6: Add Seating
Build a built-in bench using cement board and tile, or install a prefab waterproof sauna bench. Make sure the seating is:
- Sloped slightly for comfort and drainage
- Covered in tile for easy cleaning
- Large enough for at least one person to lie down or two to sit comfortably
Avoid using wood benches in a steam room—they can absorb moisture and lead to mold.
Step 7: Install the Steam Door
Use a steam-rated glass door with a tight seal. Steam doors are designed to:
- Prevent steam from escaping
- Resist high heat and humidity
- Open outward for safety
You can also include a small transom window above the door to help with ventilation after use.
Step 8: Add Final Touches
Once the core build is complete, you can personalize your steam room with relaxing features like:
- Recessed lighting with steam-safe fixtures
- Aromatherapy system for essential oils
- Bluetooth speakers for calming music
- Wall hooks for towels and robes
- Timers and thermostats for temperature control
Make sure all electrical components are rated for steam use and properly sealed.
Safety & Maintenance Tips for Homeowners
Keeping your steam room safe and functional is simple with a few basic practices:
- Run a fan or open the door after use to air out moisture
- Clean tiles and grout weekly to prevent mildew buildup
- Inspect the steam generator every 6–12 months
- Flush the generator if your model recommends it (to remove mineral buildup)
- Don’t stay in the steam room longer than 15–20 minutes at a time
If you have a medical condition, consult your doctor before using steam therapy.
How Much Does It Cost to Build a Steam Room?
Building a steam room at home is a luxury that’s more affordable than many homeowners might think—especially if you take the DIY route. On average, a DIY steam room costs between $2,500 and $6,000, depending on the size of the room, the materials used, and whether you handle the electrical and plumbing yourself or hire professionals.
Here’s a general breakdown of what you can expect to spend on the main parts of the project:
- Framing and backer board: $300–$600 for building the basic structure and wall base
- Waterproofing materials: $200–$500 to properly seal walls, ceilings, and floors
- Porcelain or ceramic tile: $500–$1,000 for tiling all surfaces with moisture-safe materials
- Steam generator system: $800–$2,000 for a high-quality unit that fits your room size
- Tile bench and steam-proof door: $400–$800 for comfortable seating and an airtight door
- Electrical and plumbing labor: $500–$1,500 if you hire licensed professionals for hookups
Altogether, most homeowners can expect to spend around $2,500 to $6,000 for a complete DIY build. In contrast, hiring a contractor to build a custom steam room typically costs $8,000 to $15,000 or more, especially with high-end finishes. By building it yourself, you can save thousands while still getting a spa-quality space right at home.
Final Thoughts
Learning how to build a steam room at home is an exciting, rewarding project—especially for homeowners looking to create a spa-like retreat without the ongoing cost of visits or memberships. With good planning, quality materials, and careful attention to sealing and ventilation, your steam room can become a long-lasting part of your daily wellness routine.
Whether you’re upgrading your master bathroom or adding a relaxing space near your home gym, this guide gives you everything you need to get started. And if you’re also considering adding dry heat therapy, it’s worth exploring how to build a sauna as a complementary project.
In the end, creating a steam room at home is about more than just luxury—it’s about investing in your well-being and enjoying the comfort of your own personal spa, one steam session at a time.