If you’re a homeowner looking to upgrade your home with something relaxing, practical, and luxurious, building your own sauna might be the perfect project. Saunas offer a private space to unwind, soothe sore muscles, and even increase property value.
This guide will walk you through how to build a sauna, whether you want it in your basement, bathroom, garage, or backyard. No need to hire a full crew—many homeowners can handle this DIY project over a few weekends with basic tools and planning.
Why Homeowners Build Their Own Saunas
Here’s why more homeowners are adding saunas to their property:
- Increase property value with a custom wellness feature
- Save money by avoiding contractor markup
- Personalize the size, layout, and style
- Enjoy private, year-round relaxation at home
- Control energy use and safety with your own setup
Indoor vs. Outdoor Sauna: What’s Best for Your Home?
Before building, one of the first decisions homeowners need to make is whether to install the sauna inside the home or create a freestanding outdoor structure. Each option has its pros and cons, and the best choice depends on your available space, budget, climate, and lifestyle.
Indoor Sauna
An indoor sauna is an excellent choice for homeowners with extra space inside the house. Popular locations include basements, master bathrooms, walk-in closets, and even spare rooms.
Benefits of an indoor sauna:
- Convenient access year-round—no need to step outside in cold or wet weather
- Shared utilities—you can often connect to your existing electrical and plumbing systems
- Faster heat-up time—indoor saunas are protected from outdoor elements, so they stay warm longer
- Lower weatherproofing costs—no need for a roof or extra exterior siding
Considerations:
- You may need to add ventilation to manage heat and moisture
- Proper insulation and vapor barriers are crucial to protect your home’s structure
- You’ll need to ensure access without disrupting your home’s layout
Indoor saunas are ideal for homeowners who want a discreet, efficient, and protected sauna experience with less exterior construction work.
Outdoor Sauna
Outdoor saunas are perfect for homeowners with a yard, garden space, or pool area. They’re often built in a detached shed, cabin-style structure, or as part of a patio area.
Benefits of an outdoor sauna:
- More privacy—you get a relaxing, retreat-like experience separate from your main living space
- Beautiful setting—natural views, fresh air, and a rustic or modern look that complements your landscaping
- Less indoor disruption—no need to worry about moisture or heat inside your home
Considerations:
- You’ll need to weatherproof the structure with a solid roof, sealed walls, and proper drainage
- May require a foundation or base such as a concrete pad or gravel bed
- Local building codes may require a permit, especially for electrical work or permanent outbuildings
- Outdoor installations often require new electrical lines, which may increase costs
Outdoor saunas are great for homeowners who want a standalone spa experience, have plenty of yard space, or enjoy entertaining guests in the backyard.
Tip for Homeowners:
Choose a space that’s near an electrical outlet (or where new wiring can be safely added), and make sure the area can handle high heat, moisture, and ventilation needs. If building outside, place the sauna near a garden path, deck, or patio to make year-round access easier—even in cold weather.
What Type of Sauna Should You Build?
The most homeowner-friendly sauna style is the traditional dry sauna, but here’s a quick look at your options:
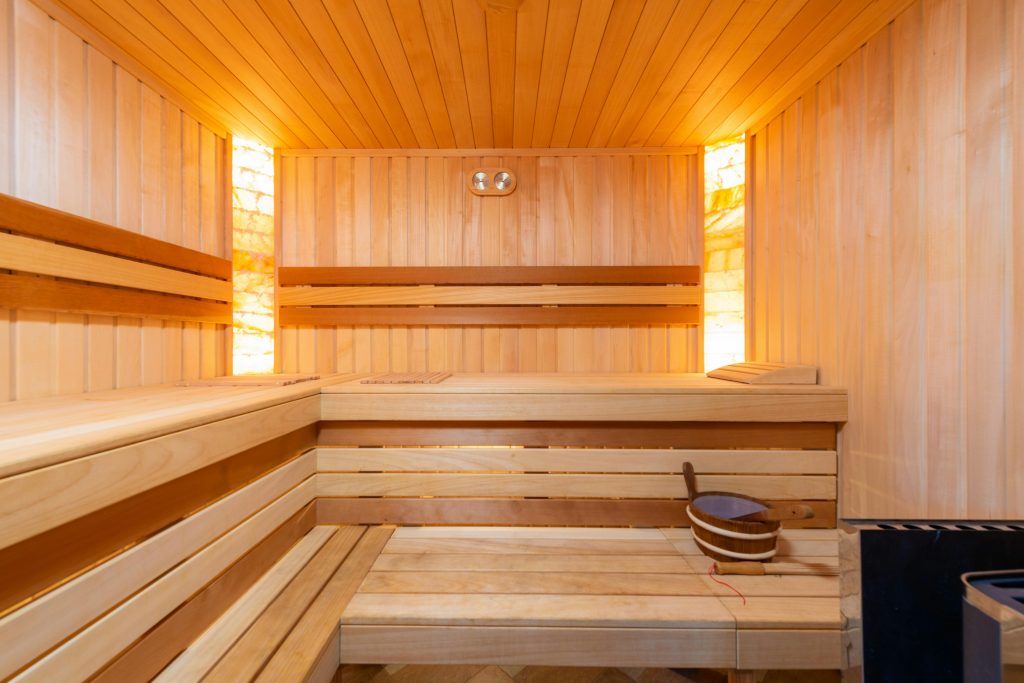
1. Traditional Finnish Sauna
- Uses an electric or wood-burning heater with stones
- Creates dry heat (150°F–195°F) but water can be poured over rocks for steam
- Classic wood interior, perfect for DIY builds
2. Infrared Sauna
- Uses infrared panels that heat your body directly
- Lower temperatures (120°F–140°F)
- Simple to install and great for smaller spaces
3. Steam Sauna / Steam Room
- High humidity and steamy air from a generator
- Requires tile, plumbing, and waterproof sealing
- Better suited for full remodels or contractor builds
This guide focuses on how to build a traditional wood-lined dry sauna, which balances affordability, ease of construction, and luxury.
What You’ll Need to Build a Home Sauna
Here’s a list of common tools and materials homeowners use to build a sauna.
Tools:
- Measuring tape
- Circular saw or handsaw
- Power drill and screws
- Level and hammer
- Safety goggles and gloves
Materials:
- 2×4 framing lumber for walls and ceiling
- Fiberglass insulation (foil-faced or add foil later)
- Foil vapor barrier to reflect heat
- Cedar or heat-resistant tongue-and-groove wood
- Electric or wood-burning sauna heater
- Sauna stones (if using a traditional heater)
- Sauna-safe lighting
- Door (glass or cedar)
- Ventilation grilles (inlet and outlet)
- Cedar planks for benches
Optional add-ons:
- Headrests, backrests
- Bucket and ladle
- Bluetooth sauna speakers
- LED mood lights
Step-by-Step Guide: How to Build a Sauna at Home
Step 1: Pick the Location
Choose a space you own and can modify freely. Popular spots for homeowners include:
- Basement corners
- Master bathrooms
- Unused walk-in closets
- Backyard sheds or new outbuildings
Ideal sauna sizes:
- 4′ x 4′ (1–2 people)
- 5′ x 6′ or 6′ x 8′ (2–4 people)
- 8′ x 10′ (family-sized)
Stick to ceilings under 7 feet to maintain efficient heat circulation.
Step 2: Frame the Structure
Use 2×4 lumber to create wall and ceiling framing, spaced 16 inches apart. Frame the doorway and add supports where benches and heaters will go.
Secure the frame to your subfloor and walls using appropriate anchors or screws.
Step 3: Insulate and Add Vapor Barrier
Proper insulation is key for keeping heat in and energy bills low.
- Use foil-faced fiberglass insulation or foam board in all walls and ceilings.
- Then cover everything with a foil vapor barrier to reflect heat and prevent moisture damage.
- Seal seams tightly with foil tape.
This step helps protect your home’s structure and keeps the sauna efficient.
Step 4: Install Interior Wood Paneling
Line the inside of the sauna with tongue-and-groove cedar boards. Cedar is naturally resistant to heat and moisture, and it gives off that signature sauna aroma.
Avoid treated or painted wood—they can release harmful fumes when heated.
Step 5: Build and Install the Benches
Most saunas have two levels of benches:
- Lower bench (cooler air)
- Upper bench (hotter air)
Use cedar or another heat-safe wood. Mount benches securely to the frame and leave space underneath for air flow and cleaning.
Standard bench depth: 20–24 inches
Bench height from floor: 18 inches for the lower, 36 inches for the upper
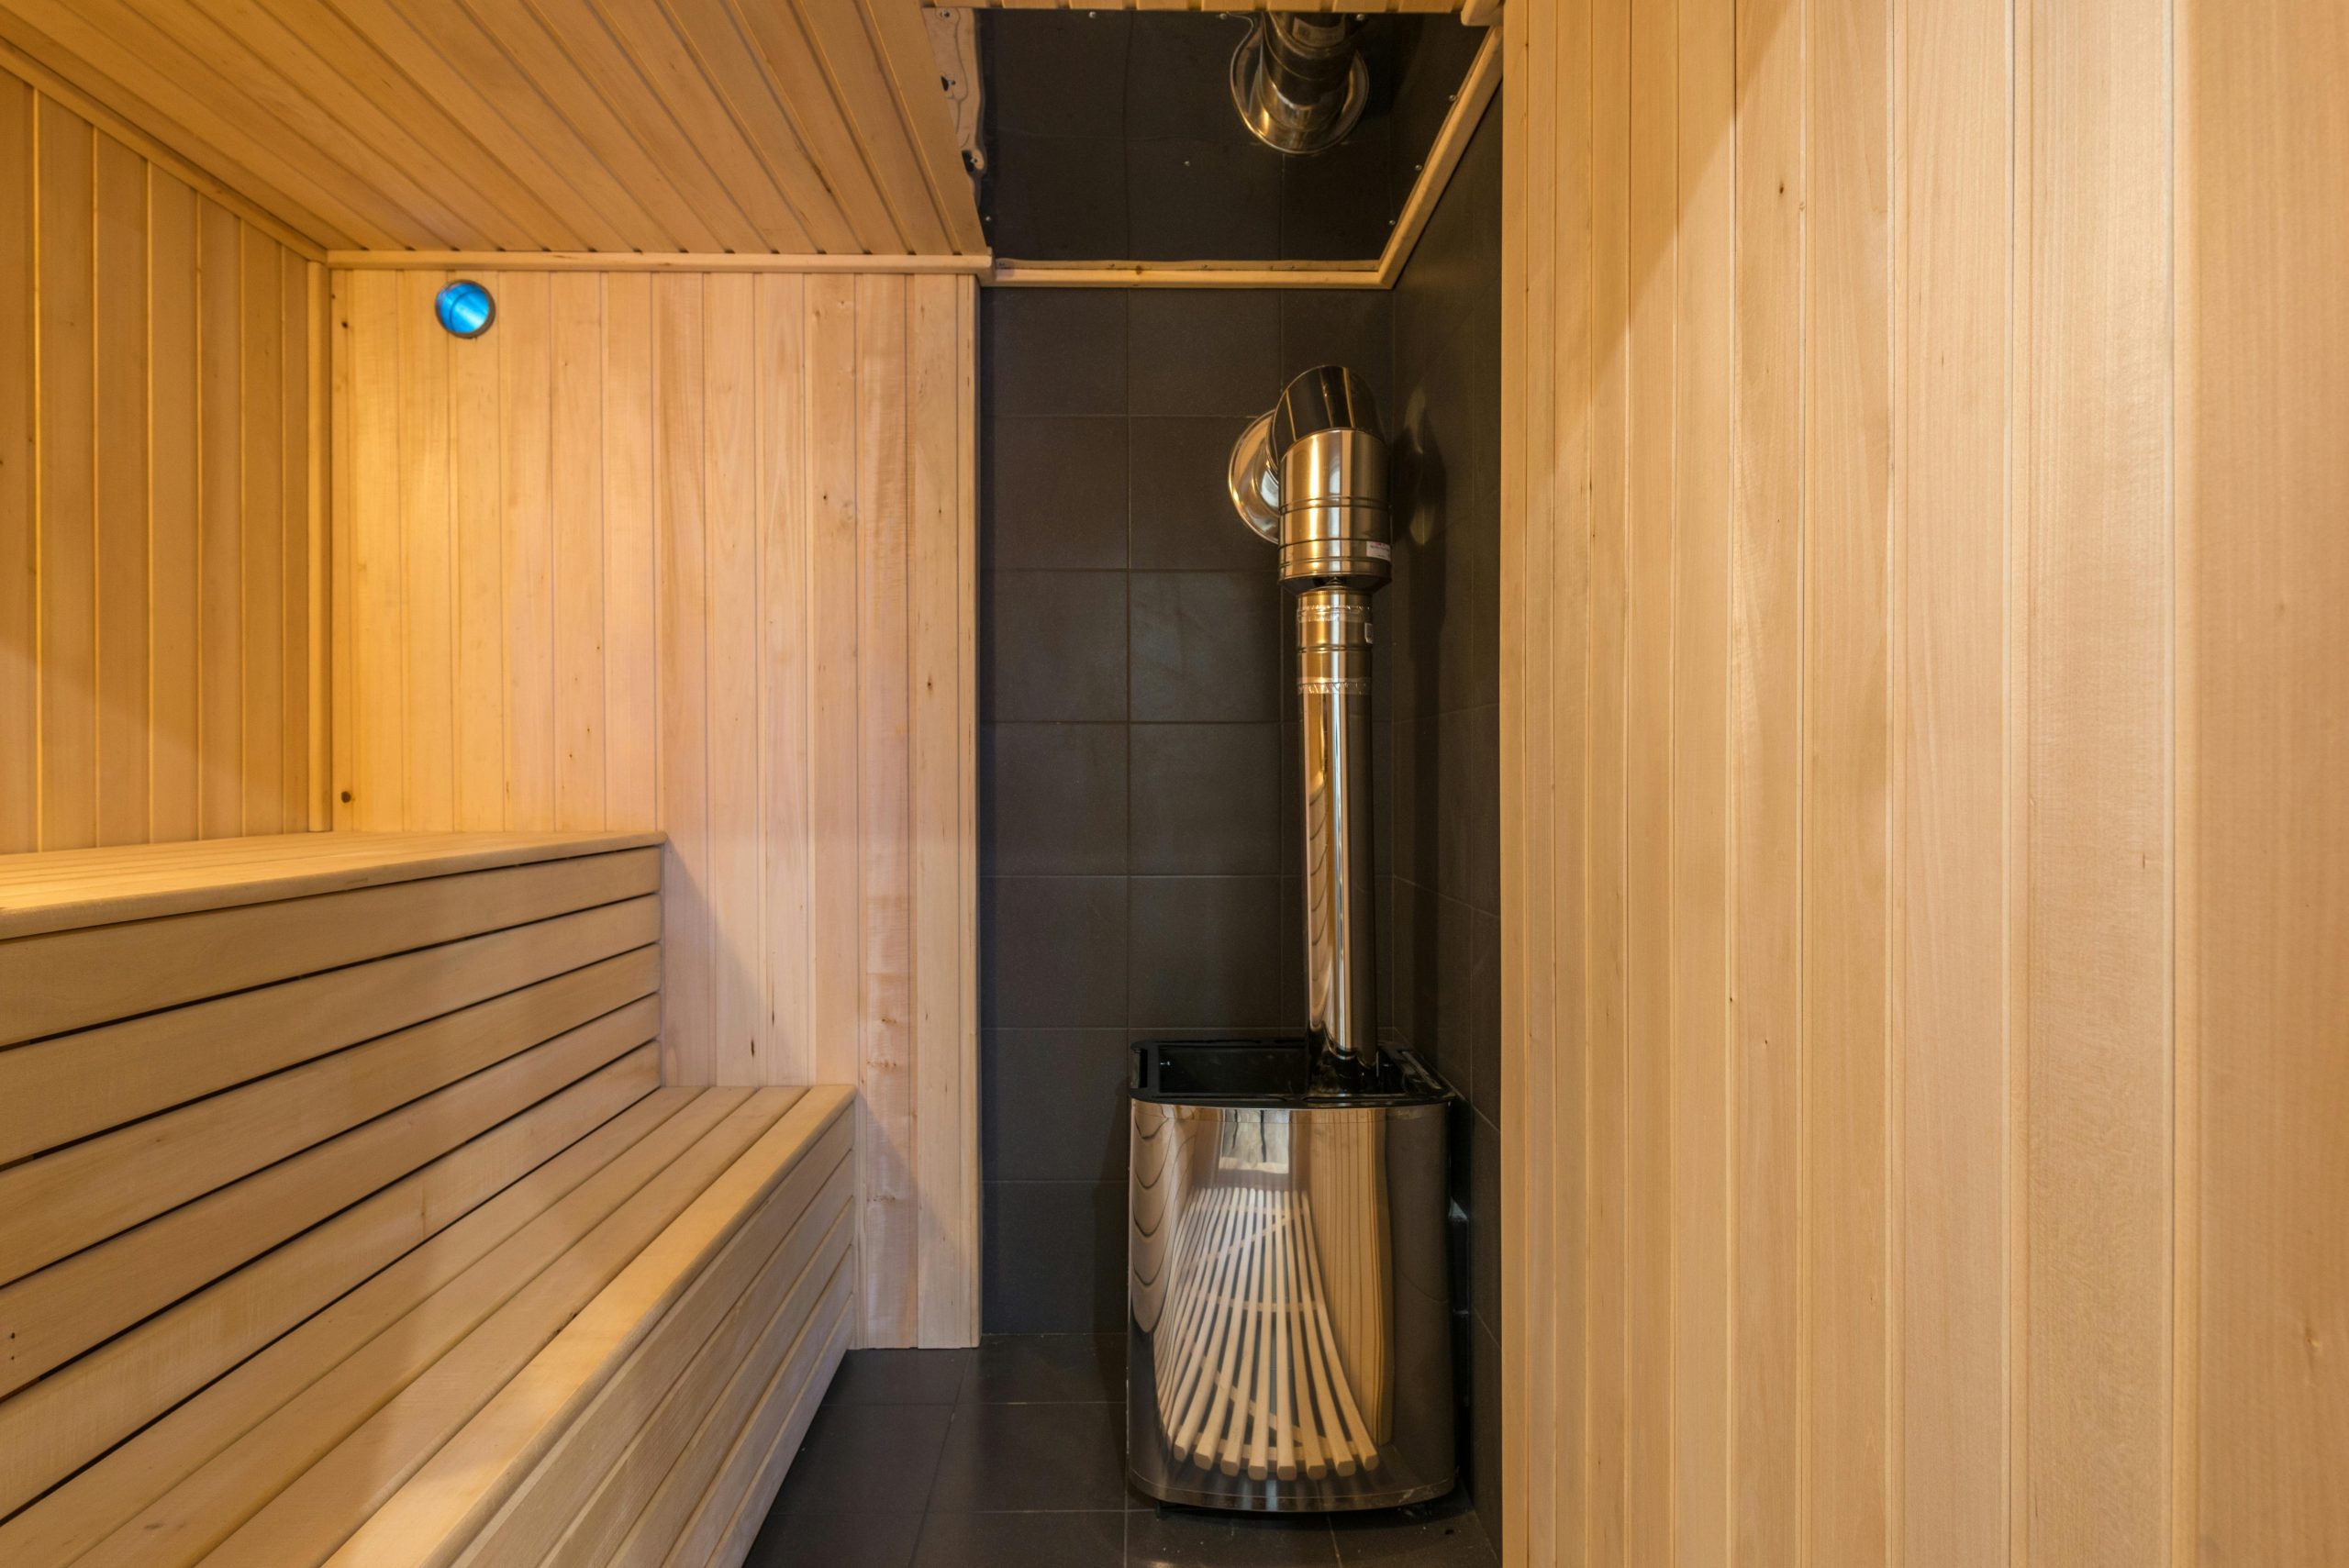
Step 6: Install the Heater
Homeowners typically choose an electric heater for simplicity and safety.
- Mount the heater near the floor according to manufacturer guidelines.
- Install sauna stones over the heater.
- Use a dedicated circuit for the heater; hire an electrician if needed.
- Place the thermometer and timer nearby, out of direct heat.
Step 7: Add Ventilation
Proper airflow helps regulate temperature and protects your sauna from mold or heat damage.
Include:
- Inlet vent: Low on the wall near the heater
- Exhaust vent: High on the opposite wall or ceiling
This keeps fresh air moving through and prevents overheating.
Step 8: Install the Door and Lights
Use a sauna-specific glass or cedar door that opens outward. For safety, avoid locks.
Lighting should be:
- Low-voltage
- Moisture-resistant
- Cool to the touch
You can install lights under benches or behind panels for a relaxing glow.
Step 9: Add Finishing Touches
Now’s the fun part—customizing your sauna for comfort.
Consider adding:
- A bucket and ladle for steam (if desired)
- Built-in Bluetooth speakers
- Backrests or towel racks
- Mood lighting
- Thermometers or hygrometers
How Long Will It Take?
Most homeowners can build a sauna in 2–4 weekends, depending on size and available help.
- Indoor saunas are faster, especially if close to electrical connections.
- Outdoor saunas take longer due to framing, roofing, and waterproofing.
Using a pre-cut DIY sauna kit can speed things up while still offering a custom feel.
What’s the Cost to Build a Sauna at Home?
For homeowners looking to add value and comfort to their property, a DIY sauna is surprisingly affordable compared to hiring a contractor. On average, you can expect to spend between $2,000 and $4,000, depending on the size, materials, and features you choose.
Here’s a general breakdown of common costs:
- Framing & lumber: $300–$600 for the basic wall and ceiling structure
- Insulation & vapor barrier: $150–$300 to help retain heat and protect your home
- Interior cedar paneling: $600–$1,200 for durable, moisture-resistant wood
- Sauna heater & stones: $400–$1,000 depending on whether you choose electric or wood-burning
- Benches & door: $250–$500 for comfortable seating and a secure entrance
- Electrical work (professional installation): $300–$800 if you hire an electrician for safe wiring
The total cost ranges from $2,000 to $4,000, making it a cost-effective home upgrade. By comparison, hiring a contractor for a custom sauna installation can cost anywhere from $6,000 to $10,000 or more.
A DIY sauna not only saves money—it gives you the freedom to build it exactly the way you want, on your own timeline.
Safety Tips for Homeowners
- Always follow local building codes—check with your city or county before starting.
- Hire a licensed electrician for any wiring.
- Install a smoke detector or heat alarm near the sauna.
- Allow the sauna to air out after each use by keeping the door open.
- Never use glue, sealants, or treated wood inside the hot room.
Final Thoughts
For homeowners who want to upgrade their lifestyle and property value, building a sauna is a smart, rewarding DIY project. With a modest budget and basic tools, you can create a relaxing retreat that lasts for years.
Now that you know how to build a sauna, you can design one that fits your home, your family, and your wellness goals. Start with a solid plan, take it one step at a time, and enjoy the warm, calming benefits once it’s done.
You don’t need a contractor or a spa membership—just a little time, effort, and the comfort of your own home.